As an Army wife we know that there is always the possibility that our husband will miss a birth, a birthday, an Anniversary, multiple holidays and special moments but it is pretty rare when the husband leaves on the *actual* date of the event. My friend Kimberly's husband just so happened to leave the morning of their 6 year wedding anniversary, so what better way than to distract her with good eats, my two wild children and a couple of rambunctious dogs. An Anniversary to remember!!
I had the pleasure of meeting Kimberly at a bible study group at our last duty station, Fort Irwin, CA. That was the most remote post known to man, 35 miles from the nearest town, one road in and one road out...the world's most secure and largest cul-de-sac. Our world was really small there; commissary, PX, a couple of lousy post restaurants and a whole ton of sand!! This is a picture I took of a Joshua Tree when we lived there...see...LOTS of SAND!!

So coming to Alaska is living the dream! I know that Kimberly and her husband Tim would agree that Alaska has been so awesome, our husbands are already scheming up a trip to climb Denali (Mount McKinley) in the summer of 2014!
This is a picture I took from our balcony in Alaska, see the difference? HA HA!!

Meet the Conrads!! Kimberly and Tim. He's outdoorsy, and wears those funny toe running shoes, he said he would run from their house to ours (12 miles) in the snow on Thanksgiving, but Kimberly thought it was weird if he showed up on our porch for Thanksgiving all sweaty! LOL. She wears cute socks and scarves, teaches Yoga, loves to read and drink wine. She even has a book club she started up called Read 'Em and Drink. They are so cute and have six kids between the two of them, one sweet dog named Jack, and one adorable grandson.

This is Kimberly's second deployment, but Tim has been through a few more (he's been in for 16 years...the end is in sight dude!) she is not crazy about cooking, but she likes to eat and I like to cook so we make a pretty good pair.
*Do you have a recipe that you have wanted to make but are too afraid to tackle on your own?
K: I was a little afraid of the potato and leek soup...mostly of the leeks...but, it turned out perfect :)
(Leeks can be scary especially because of all that sand and grit that hangs out inside of them...I want some of that soup Kimberly!!)
*Favorite foods:
K: This is difficult...I have a TON of foods that I consider "FAVS" ... it all depends on my mood...but, I would have to say that I always love salad...well, salad dressing :) ...all different kinds ~ but good salad dressing makes me happy! I also love cheese....and popcorn.
It was a good thing I opted to stick a salad into the menu, I made the Gorgeously Green Salad Dressing recipe and served it on top of Organic Romaine with some cranberries and walnuts. It was a simple salad but I nice blend of flavors. The balsamic in the dressing is my absolute favorite part!! The great thing is I know what is in the salad dressing and it all stuff that I can pronounce unlike the store bought dressings that have words in them with too many 'x's and not enough vowels. Visit the link above to check out the recipe!
*What has been your most favorite duty station?
K: I would have to say Germany, although Alaska seems pretty amazing too!
*What are your proudest Army moments?
K: Every time I hear our National Anthem play on post, I get goose bumps!
*If you could share a meal with anyone dead or alive who would it be and why?
K: Three people...My grandparents, Mama Paul and Daddy Mac...and my great-grandmother Mama Nanny. They each passed away when I was in my teens or early twenties...too young to pay attention to their good advice...I would love a second chance to talk to them! Plus my Mama Nanny made the BEST homemade biscuits!!!!
(Mmmmm...like a real Southern Grandma!)
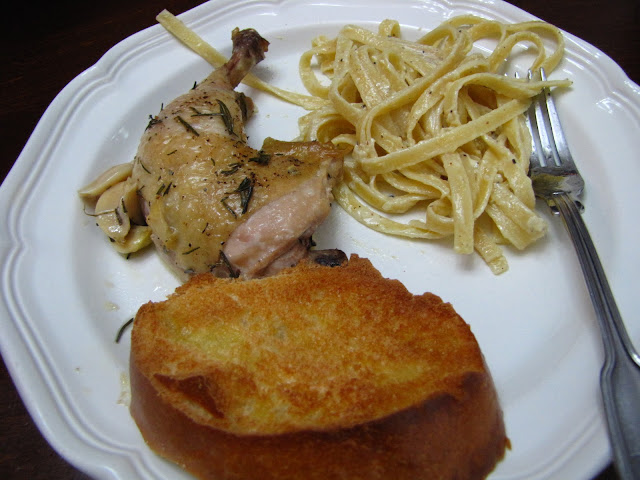
I hope that Mama Nanny would be proud of what I made for you. We shared Garlic roasted chicken, lemon pepper fettucini, salad and some crusty bread. (I give myself only 2 points for plating, but 10 points for flavor and execution, there was lot going on that evening.)
 I love recipes like these because they taste so good and contain only a few ingredients. I like to use a whole chicken for this recipe, with the skin on. I cut the chicken all up by myself, I feel like butchering a whole chicken allows a lot of the moisture to be retained in the meat rather than buying skin on chicken parts. If you don't know how to dissect a chicken, here is a great tutorial on how to do it. I usually leave the legs as a whole quarter with the thigh attached, but you can follow through like she does on the tutorial if you like. How to cut up a whole chicken.
{Garlic Roasted Chicken with Rosemary} Adapted from Food Network
1 whole chicken (cut up) or buy a mix of skin on chicken pieces or skin on breasts only. About 1.5 lbs. worth.
2 Tbsp. extra-virgin olive oil
1 head of garlic
4 sprigs of rosemary
Salt and pepper
Preheat the oven to 425 degrees. Heat the olive oil in a large oven proof skillet over medium-high heat. Rinse and pat dry the chicken pieces. Season the chicken with salt and pepper and cook skin side down, until browned about 5 minutes.
Separate the head of garlic into cloves and peel. Here is one of my tips to peeling a whole bulb of garlic . Flip the chicken over, add the garlic and rosemary to the pan. Transfer the the oven for 15-20 minutes, basting the chicken half way through. Cook until done, but still tender.
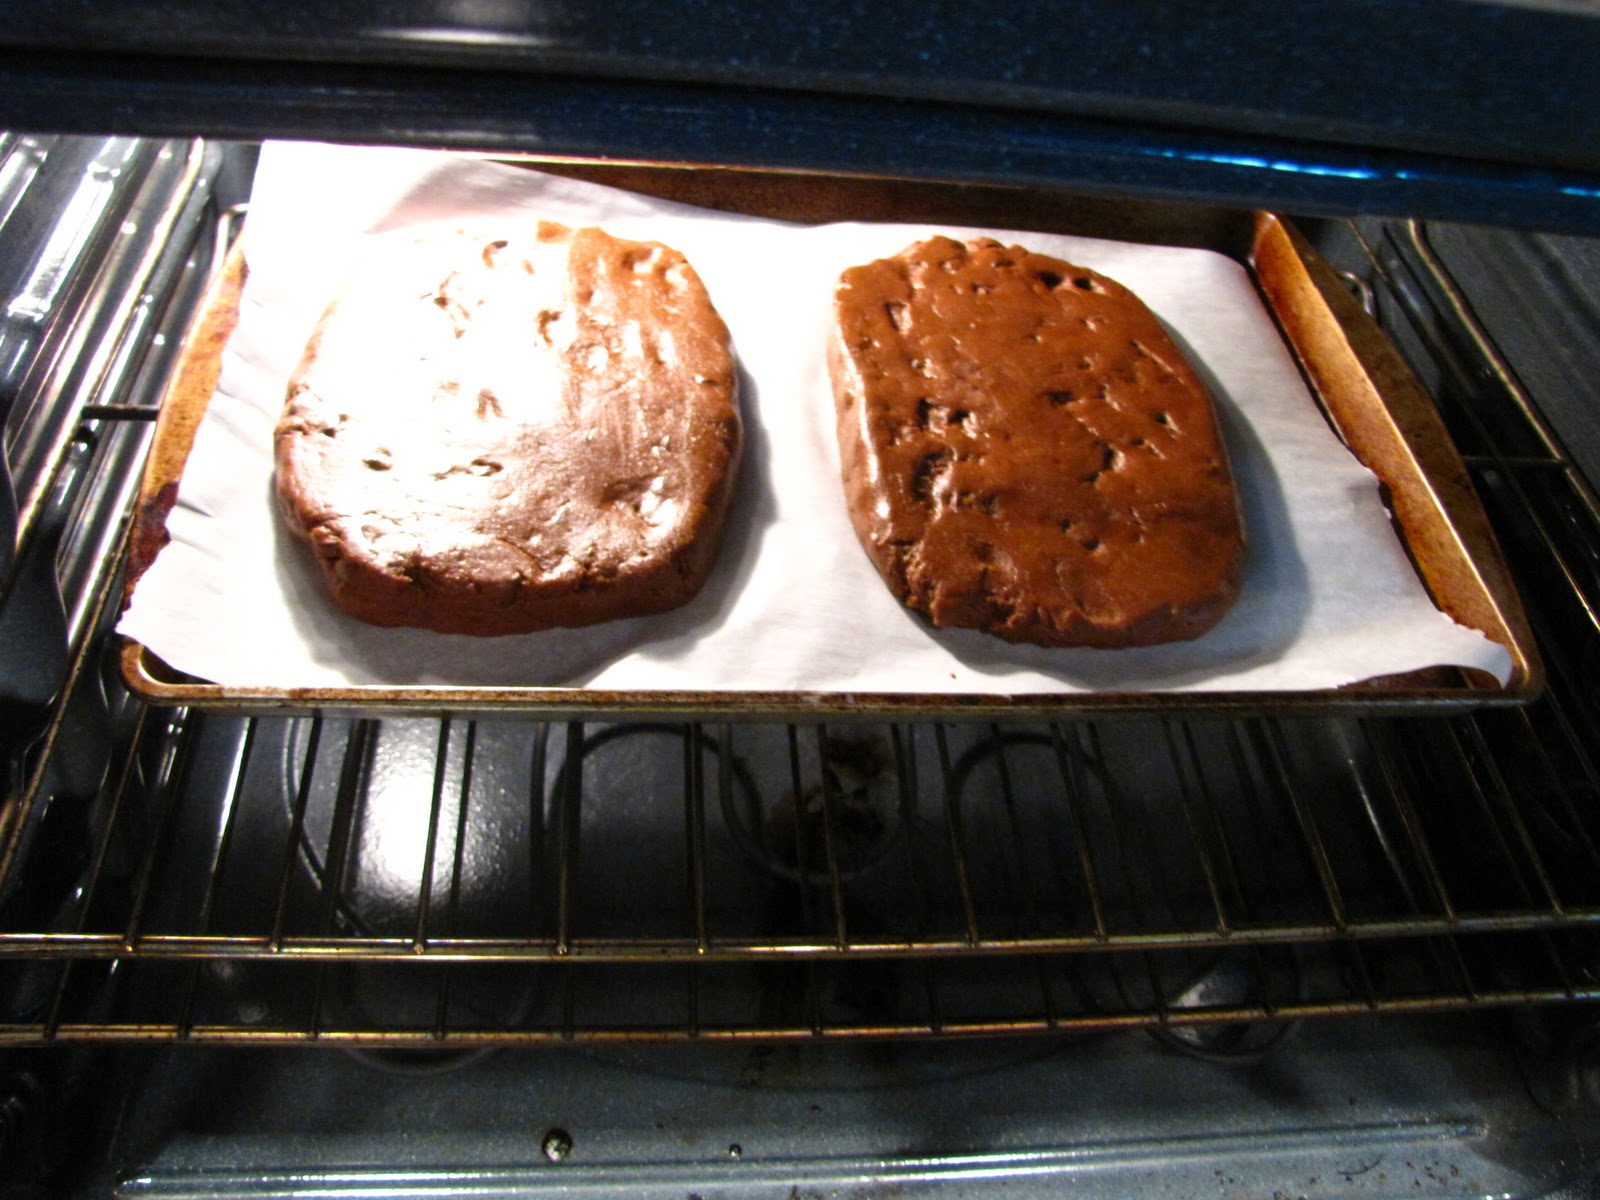
Serve with some crusty, toasted bread for spreading the garlic on.
{Toasted French Bread}
Just in case you have never done this. Cut up a loaf of french bread into rounds. Place on a cookie sheet. Drizzle olive oil all over one side of the bread. Place under the broiler on high for about 5 minutes. Keep a CLOSE EYE on this as it can quickly go from golden and toasty to burnt to a crisp in no time. Enjoy spreading the roasted garlic cloves right onto this bread...it's like butta' but betta'!
{Lemon Pepper Fettucini} Adapted from Food Network
Salt
12 ounces of fettucini noodles
1 Tbsp. butter
1 small onion diced into small pieces
1 3/4 cups of heavy cream
1 large egg yolk
1 tsp. lemon zest finely grated
1/2 cup fresh parmesan cheese, grated
salt and fresh ground pepper
Bring a large pot of salted water to a boil. Add the fettucini and cook according to package directions.
Meanwhile, melt the butter in a skillet over medium heat. Add the onion and a pinch of salt. Stir frequently until onion is translucent and soft. Whisk the cream, lemon zest, some freshly ground pepper and egg yolk together. Reduce the heat to low and add the cream mixture to the skillet, stirring so the yolk does not scramble. Bring the heat up to a light simmer and add in the cheese, stir until melted in. Add a dash more salt and a good amount of freshly ground pepper. Add the cooked pasta to the skillet and toss. Garnish with more grated parmesan if desired.
I had the pleasure of meeting Kimberly at a bible study group at our last duty station, Fort Irwin, CA. That was the most remote post known to man, 35 miles from the nearest town, one road in and one road out...the world's most secure and largest cul-de-sac. Our world was really small there; commissary, PX, a couple of lousy post restaurants and a whole ton of sand!! This is a picture I took of a Joshua Tree when we lived there...see...LOTS of SAND!!

So coming to Alaska is living the dream! I know that Kimberly and her husband Tim would agree that Alaska has been so awesome, our husbands are already scheming up a trip to climb Denali (Mount McKinley) in the summer of 2014!
This is a picture I took from our balcony in Alaska, see the difference? HA HA!!

Meet the Conrads!! Kimberly and Tim. He's outdoorsy, and wears those funny toe running shoes, he said he would run from their house to ours (12 miles) in the snow on Thanksgiving, but Kimberly thought it was weird if he showed up on our porch for Thanksgiving all sweaty! LOL. She wears cute socks and scarves, teaches Yoga, loves to read and drink wine. She even has a book club she started up called Read 'Em and Drink. They are so cute and have six kids between the two of them, one sweet dog named Jack, and one adorable grandson.

This is Kimberly's second deployment, but Tim has been through a few more (he's been in for 16 years...the end is in sight dude!) she is not crazy about cooking, but she likes to eat and I like to cook so we make a pretty good pair.
*Do you have a recipe that you have wanted to make but are too afraid to tackle on your own?
K: I was a little afraid of the potato and leek soup...mostly of the leeks...but, it turned out perfect :)
(Leeks can be scary especially because of all that sand and grit that hangs out inside of them...I want some of that soup Kimberly!!)
 |
| Here is Jack...he is so sweet!! |
K: This is difficult...I have a TON of foods that I consider "FAVS" ... it all depends on my mood...but, I would have to say that I always love salad...well, salad dressing :) ...all different kinds ~ but good salad dressing makes me happy! I also love cheese....and popcorn.
 |
| Kimberly with the GIANT icicle I left on her porch one day :D |
It was a good thing I opted to stick a salad into the menu, I made the Gorgeously Green Salad Dressing recipe and served it on top of Organic Romaine with some cranberries and walnuts. It was a simple salad but I nice blend of flavors. The balsamic in the dressing is my absolute favorite part!! The great thing is I know what is in the salad dressing and it all stuff that I can pronounce unlike the store bought dressings that have words in them with too many 'x's and not enough vowels. Visit the link above to check out the recipe!
 |
| My girls adore Kimberly...she is no longer considered "company" because I don't clean the toilets for her ;) |
*What has been your most favorite duty station?
K: I would have to say Germany, although Alaska seems pretty amazing too!
*What are your proudest Army moments?
K: Every time I hear our National Anthem play on post, I get goose bumps!
*If you could share a meal with anyone dead or alive who would it be and why?
K: Three people...My grandparents, Mama Paul and Daddy Mac...and my great-grandmother Mama Nanny. They each passed away when I was in my teens or early twenties...too young to pay attention to their good advice...I would love a second chance to talk to them! Plus my Mama Nanny made the BEST homemade biscuits!!!!
(Mmmmm...like a real Southern Grandma!)
I hope that Mama Nanny would be proud of what I made for you. We shared Garlic roasted chicken, lemon pepper fettucini, salad and some crusty bread. (I give myself only 2 points for plating, but 10 points for flavor and execution, there was lot going on that evening.)

{Garlic Roasted Chicken with Rosemary} Adapted from Food Network
1 whole chicken (cut up) or buy a mix of skin on chicken pieces or skin on breasts only. About 1.5 lbs. worth.
2 Tbsp. extra-virgin olive oil
1 head of garlic
4 sprigs of rosemary
Salt and pepper
Preheat the oven to 425 degrees. Heat the olive oil in a large oven proof skillet over medium-high heat. Rinse and pat dry the chicken pieces. Season the chicken with salt and pepper and cook skin side down, until browned about 5 minutes.
Separate the head of garlic into cloves and peel. Here is one of my tips to peeling a whole bulb of garlic . Flip the chicken over, add the garlic and rosemary to the pan. Transfer the the oven for 15-20 minutes, basting the chicken half way through. Cook until done, but still tender.
Serve with some crusty, toasted bread for spreading the garlic on.
{Toasted French Bread}
Just in case you have never done this. Cut up a loaf of french bread into rounds. Place on a cookie sheet. Drizzle olive oil all over one side of the bread. Place under the broiler on high for about 5 minutes. Keep a CLOSE EYE on this as it can quickly go from golden and toasty to burnt to a crisp in no time. Enjoy spreading the roasted garlic cloves right onto this bread...it's like butta' but betta'!
{Lemon Pepper Fettucini} Adapted from Food Network
Salt
12 ounces of fettucini noodles
1 Tbsp. butter
1 small onion diced into small pieces
1 3/4 cups of heavy cream
1 large egg yolk
1 tsp. lemon zest finely grated
1/2 cup fresh parmesan cheese, grated
salt and fresh ground pepper
Bring a large pot of salted water to a boil. Add the fettucini and cook according to package directions.
Meanwhile, melt the butter in a skillet over medium heat. Add the onion and a pinch of salt. Stir frequently until onion is translucent and soft. Whisk the cream, lemon zest, some freshly ground pepper and egg yolk together. Reduce the heat to low and add the cream mixture to the skillet, stirring so the yolk does not scramble. Bring the heat up to a light simmer and add in the cheese, stir until melted in. Add a dash more salt and a good amount of freshly ground pepper. Add the cooked pasta to the skillet and toss. Garnish with more grated parmesan if desired.